Update Your Overwatch 2 Username: A Comprehensive Guide
Your Overwatch 2 in-game name is more than just a nickname; it's your digital identity. But what happens when you want a change? This guide provides a step-by-step process for updating your BattleTag or in-game name, regardless of your platform (PC, Xbox, or PlayStation).
Key Considerations:
- Free Name Change: You get one free BattleTag change. Subsequent changes incur a fee (approximately $10 USD, check your region's Battle.net shop for the exact cost).
- Cross-Platform Play: If enabled, your name change will be handled through Battle.net. If disabled, you'll need to change your name through your console's settings.
How to Change Your Name:
The method depends on your platform and cross-platform play settings.
Method 1: PC (or Console with Cross-Platform Play Enabled)
This method updates your Battle.net BattleTag, affecting all Blizzard games.
-
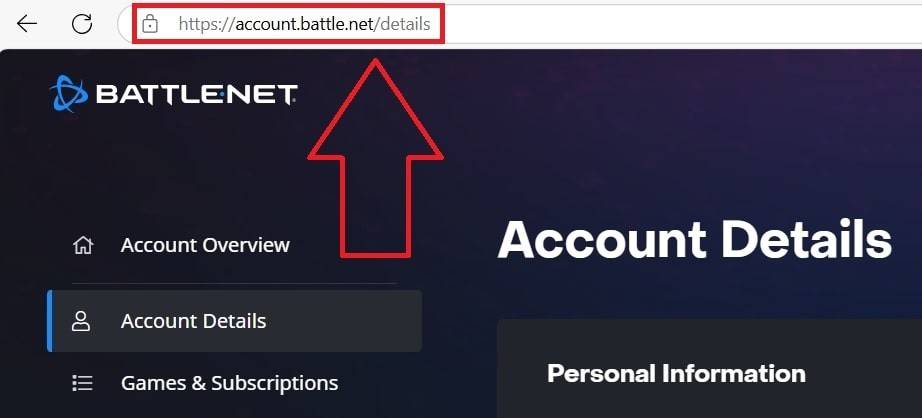
Log in to Battle.net: Access the official Battle.net website and log into your account.
-
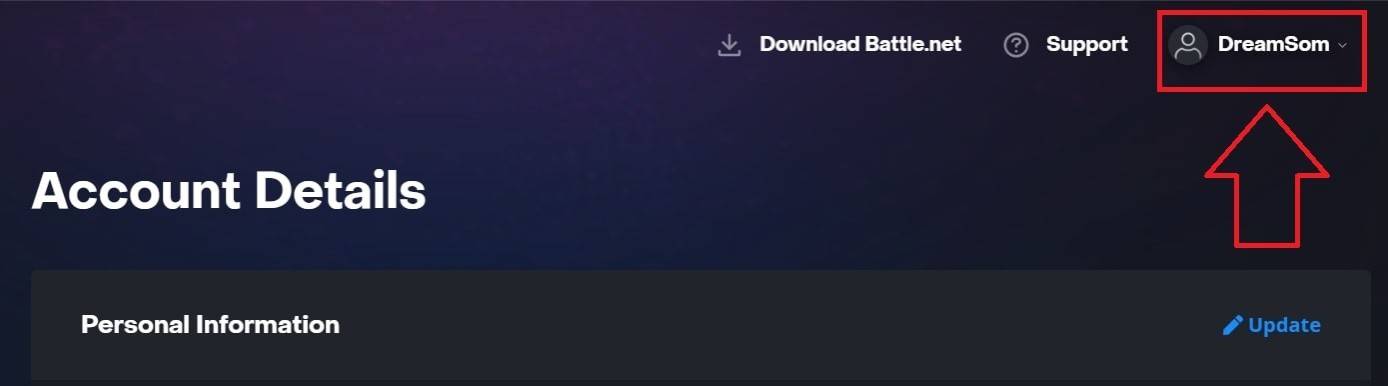
Access Account Settings: Click your current username (top-right corner), then select "Account Settings."
-
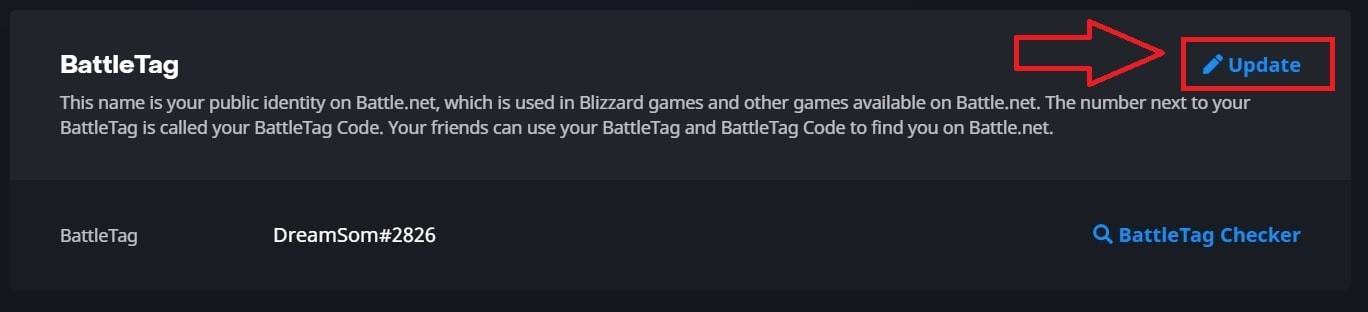
Locate BattleTag: Scroll to the BattleTag section.
-
Update BattleTag: Click the "Update" (pencil icon) next to your BattleTag.

-
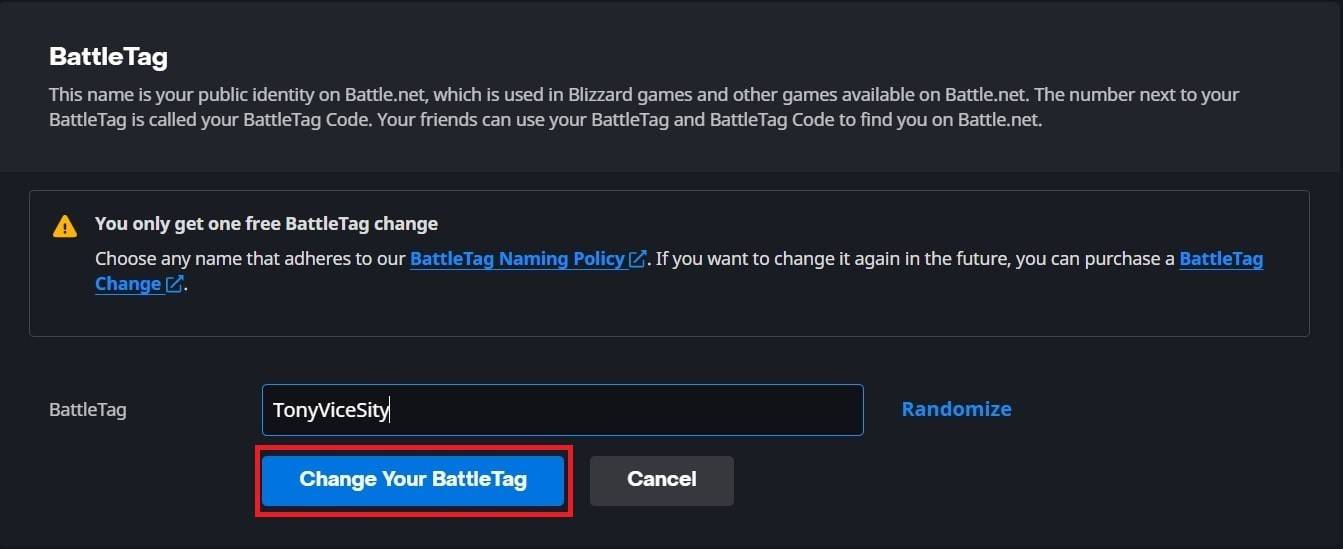
Enter New Name: Enter your desired name, adhering to BattleTag naming policies.
-
Confirm Change: Click "Change Your BattleTag."
Note: Changes may take up to 24 hours to fully propagate.
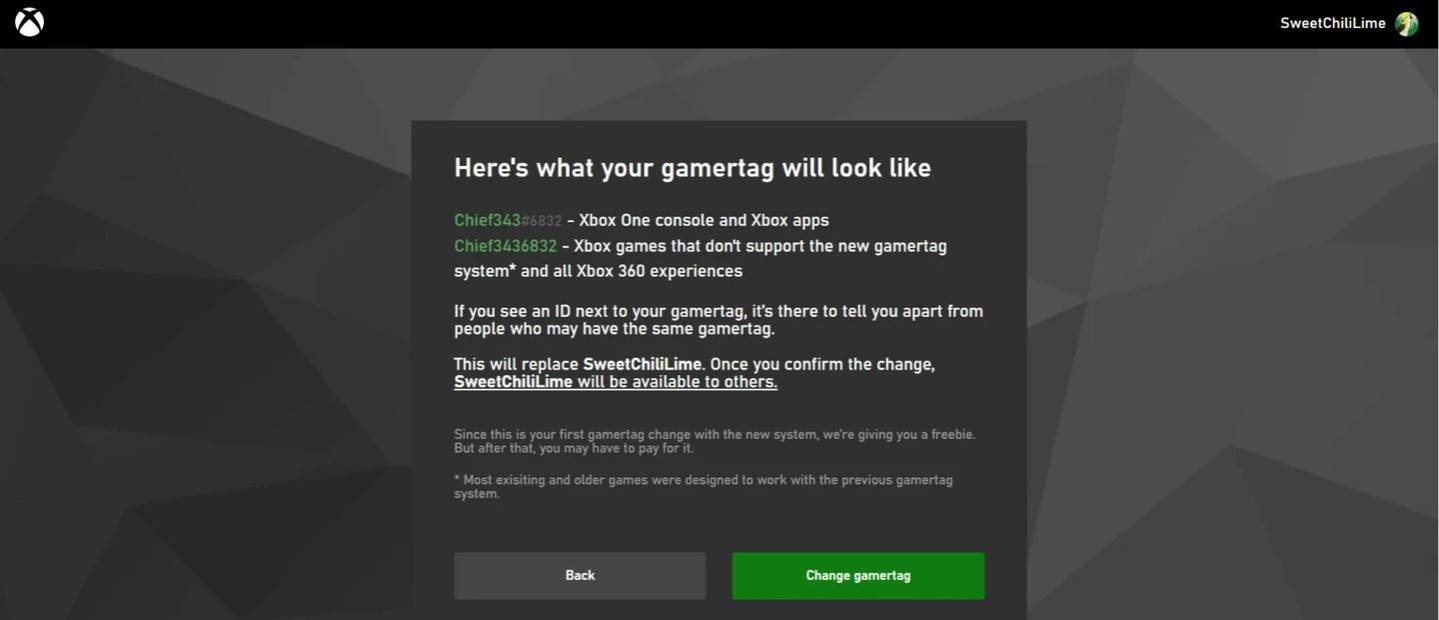
Method 2: Xbox (Cross-Platform Play Disabled)
This changes your Xbox Gamertag.
-
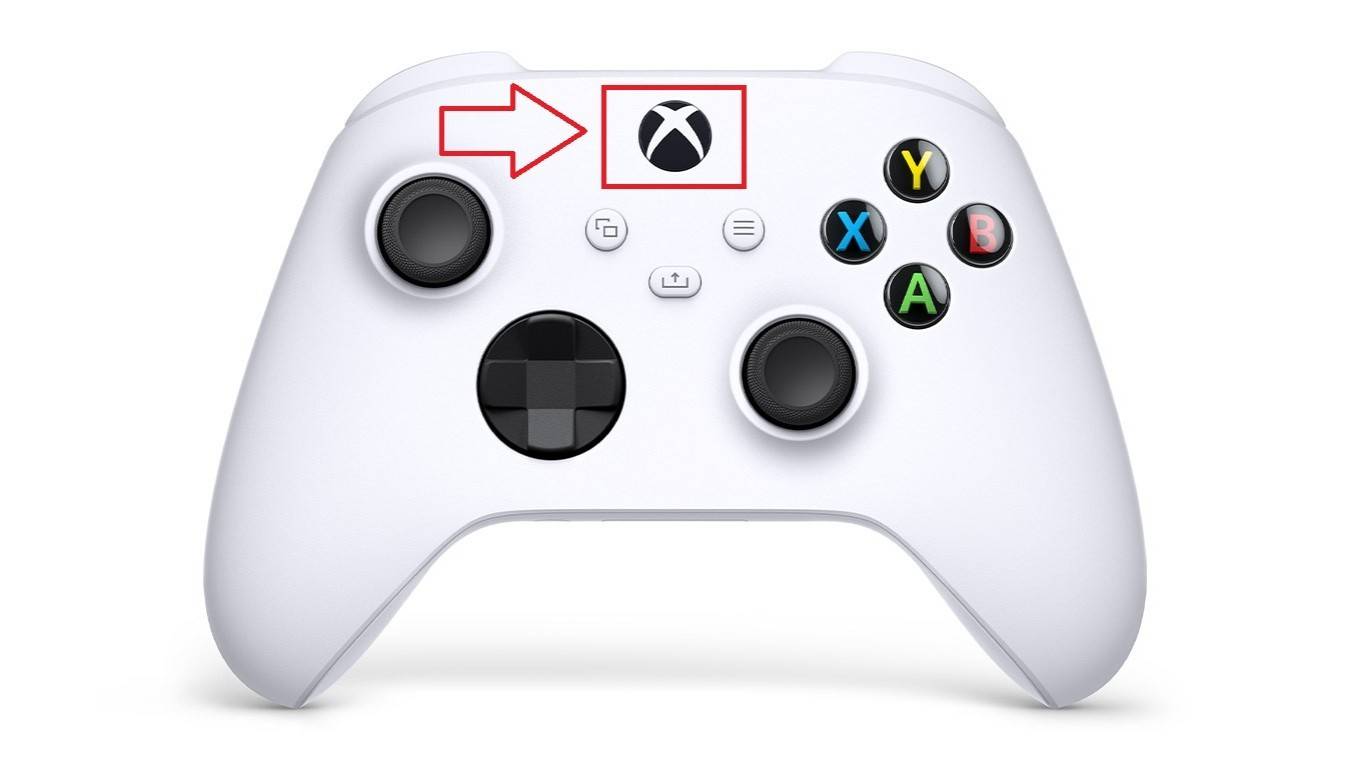
Access Xbox Menu: Press the Xbox button on your controller.
-
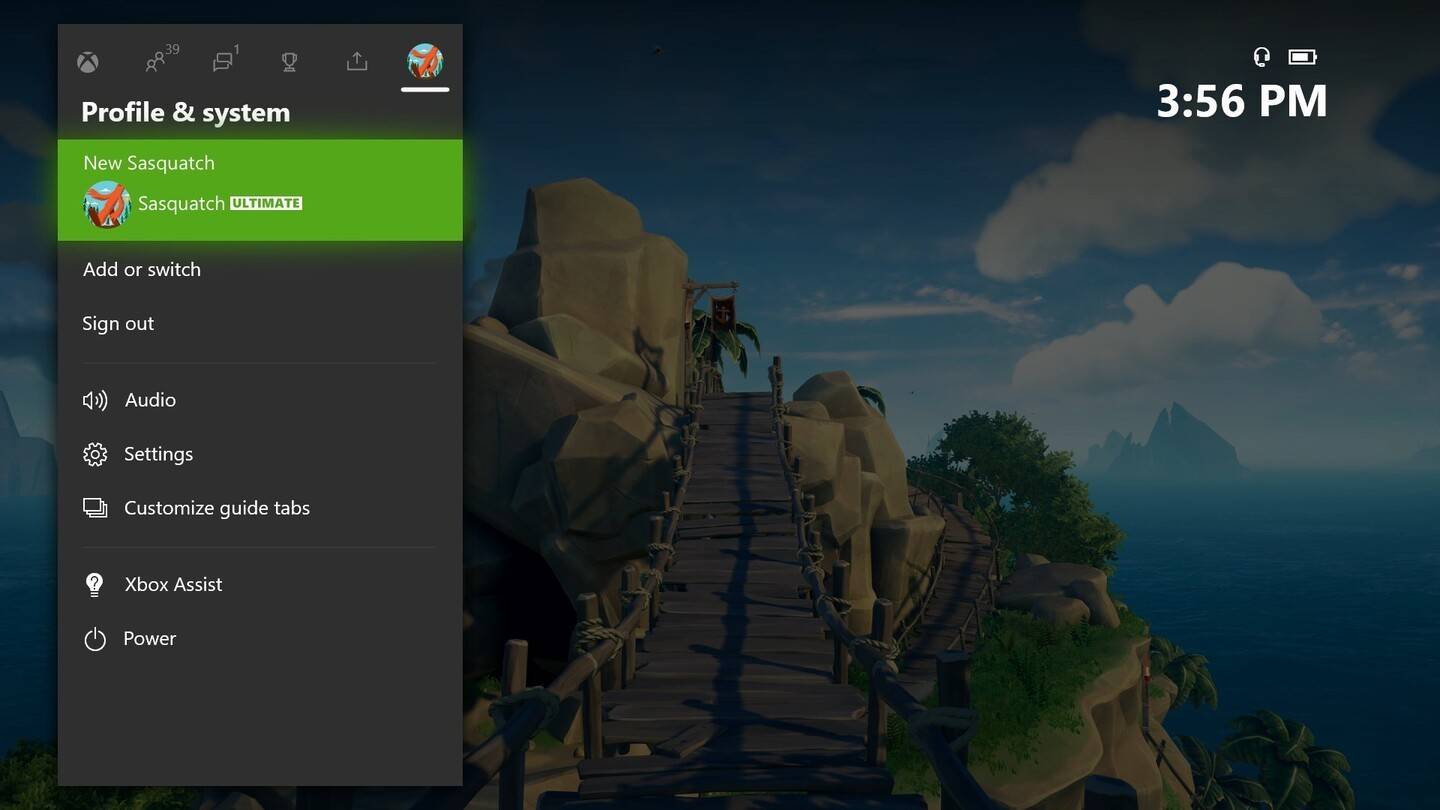
Navigate to Profile: Go to "Profile & System," then select your profile, "My Profile," and "Customize Profile."
-
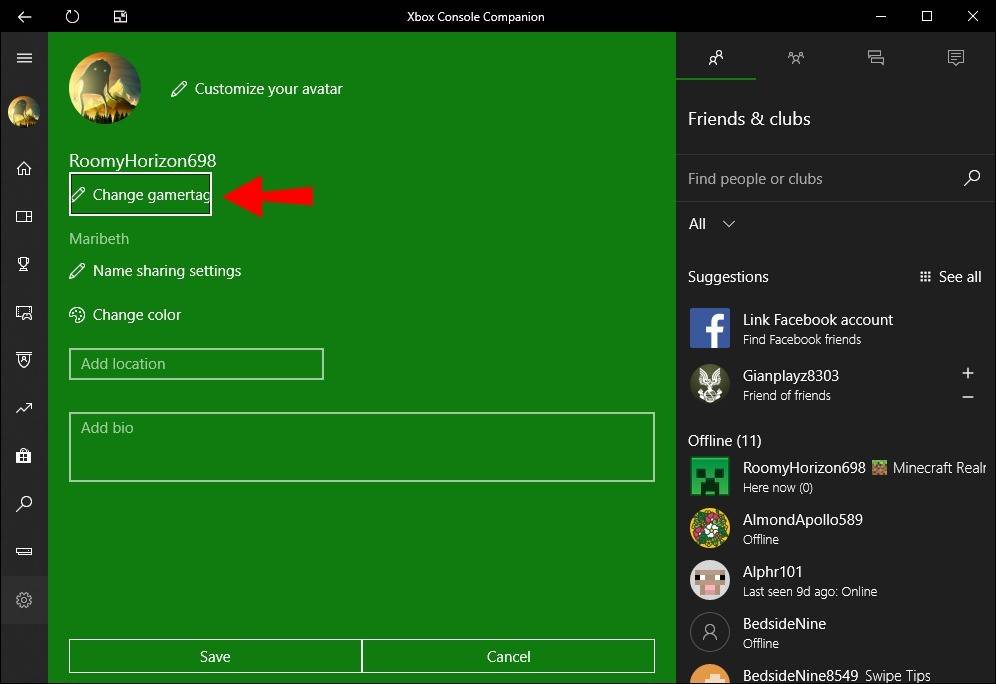
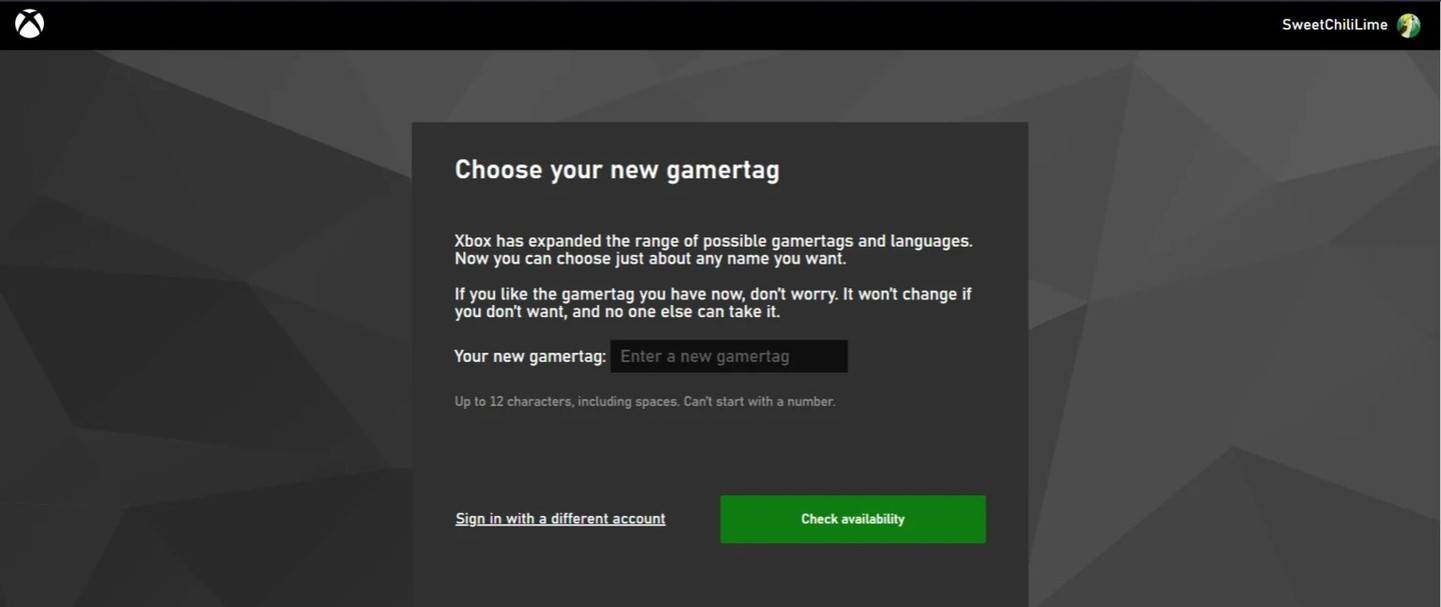
Change Gamertag: Click your Gamertag, enter the new name, and follow the on-screen prompts.
Note: This name only applies to other Xbox players with cross-platform play disabled.
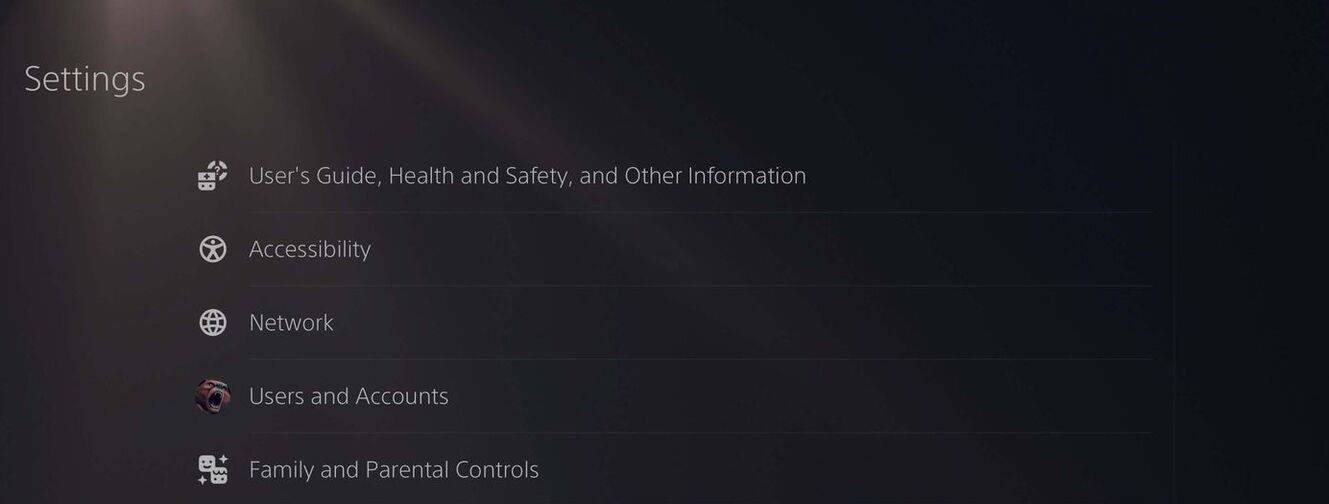
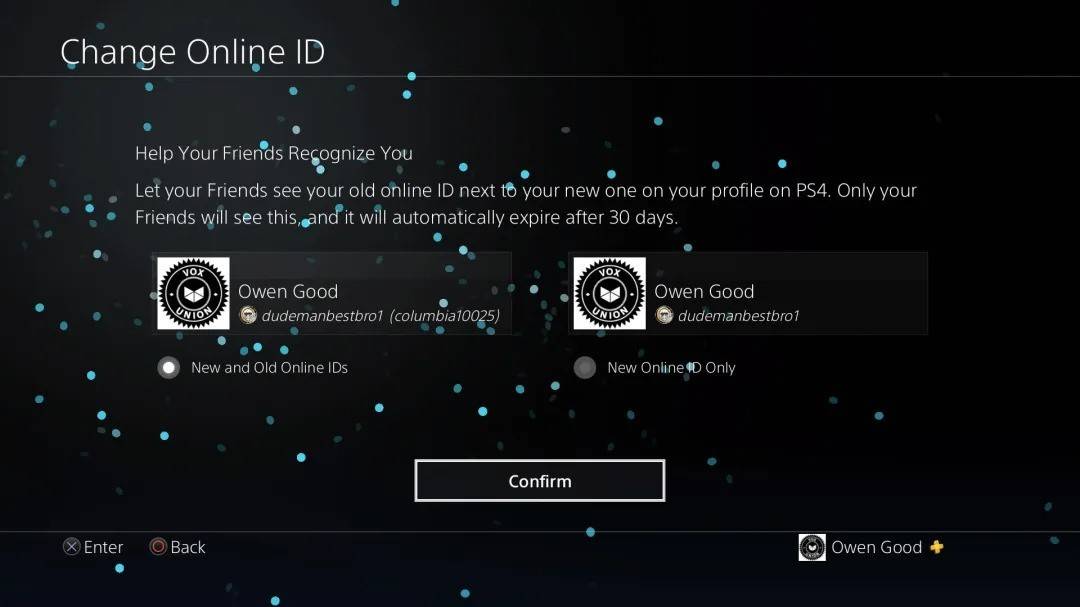
Method 3: PlayStation (Cross-Platform Play Disabled)
This changes your PSN ID.
-
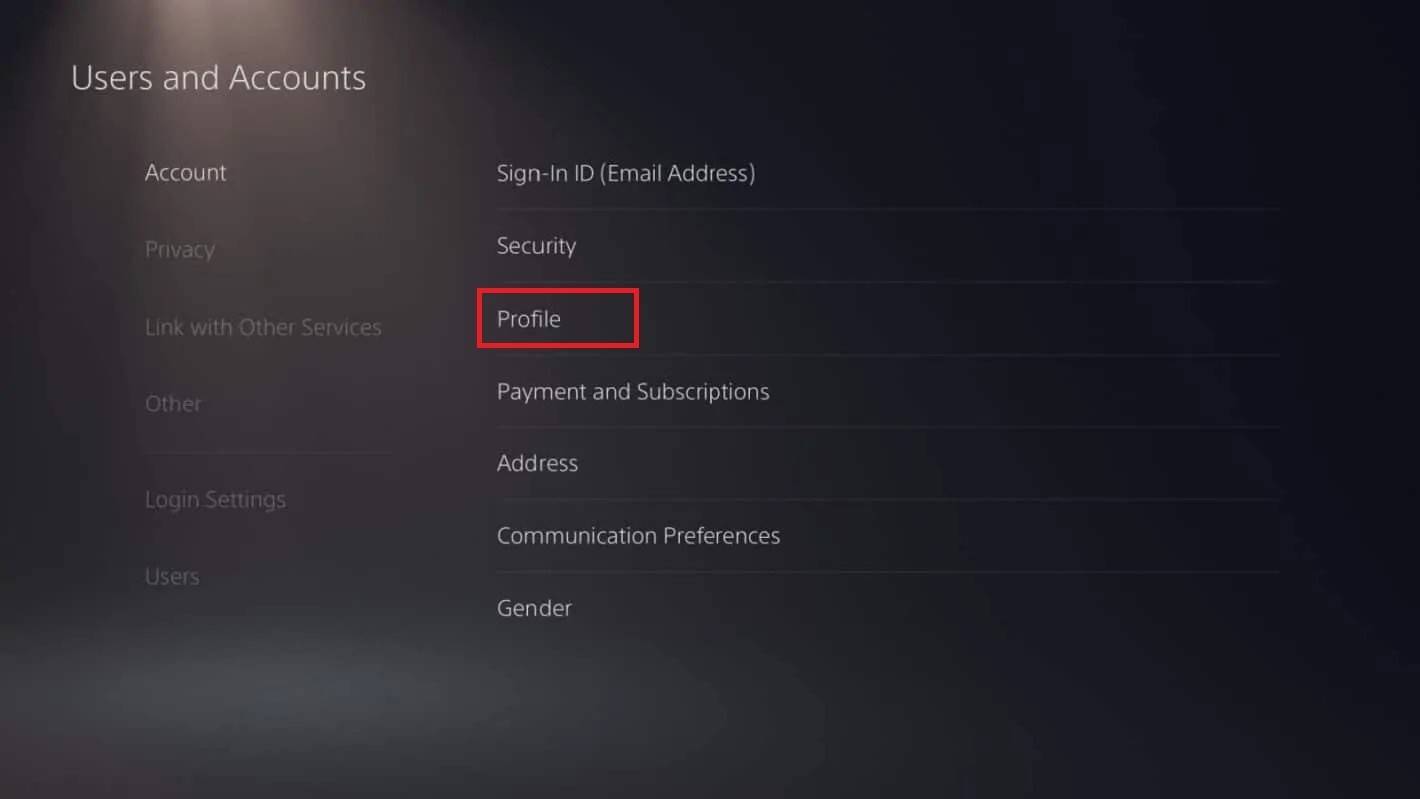
Access PlayStation Settings: Open "Settings," then "Users and Accounts," "Accounts," and "Profile."
-
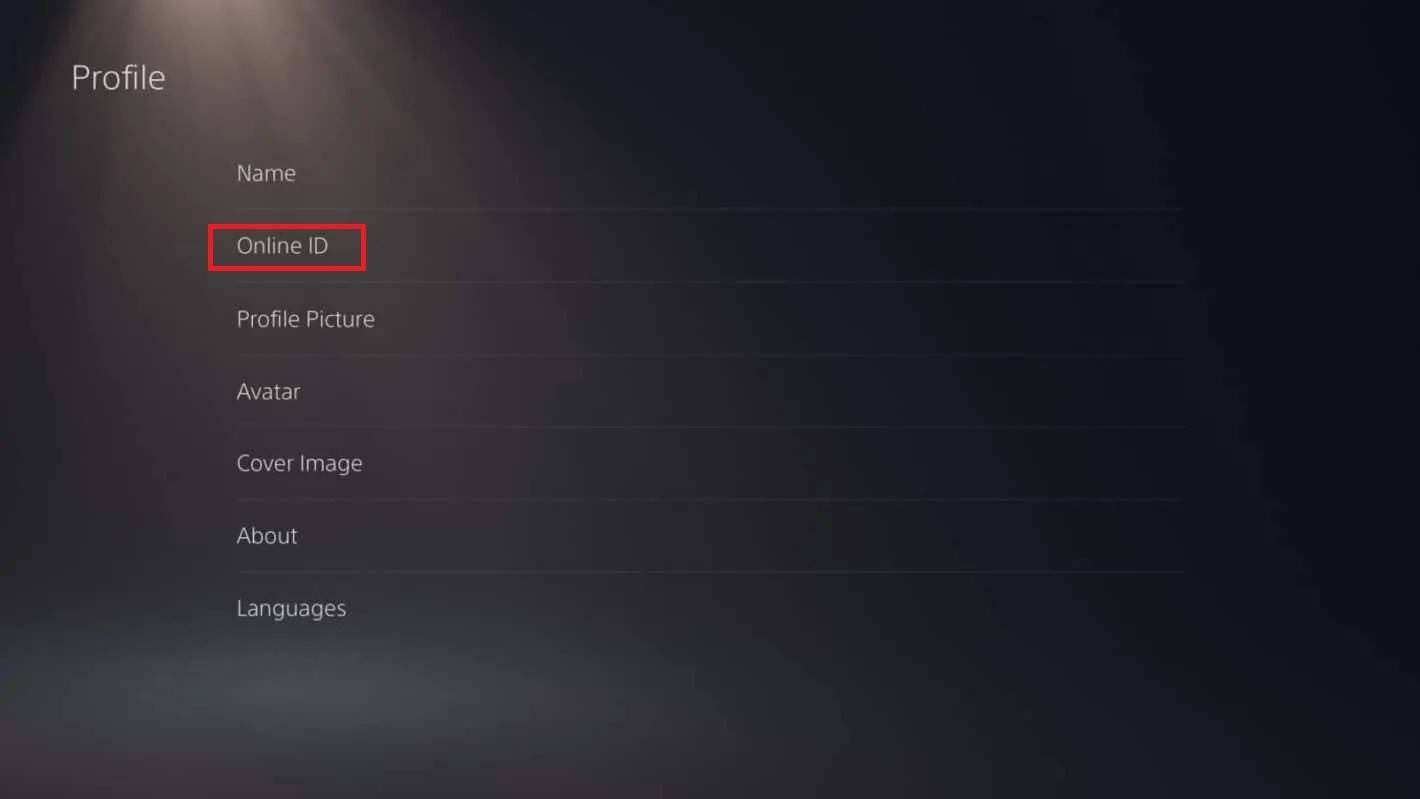
Change Online ID: Locate "Online ID," click "Change Online ID," enter your new name, and confirm.
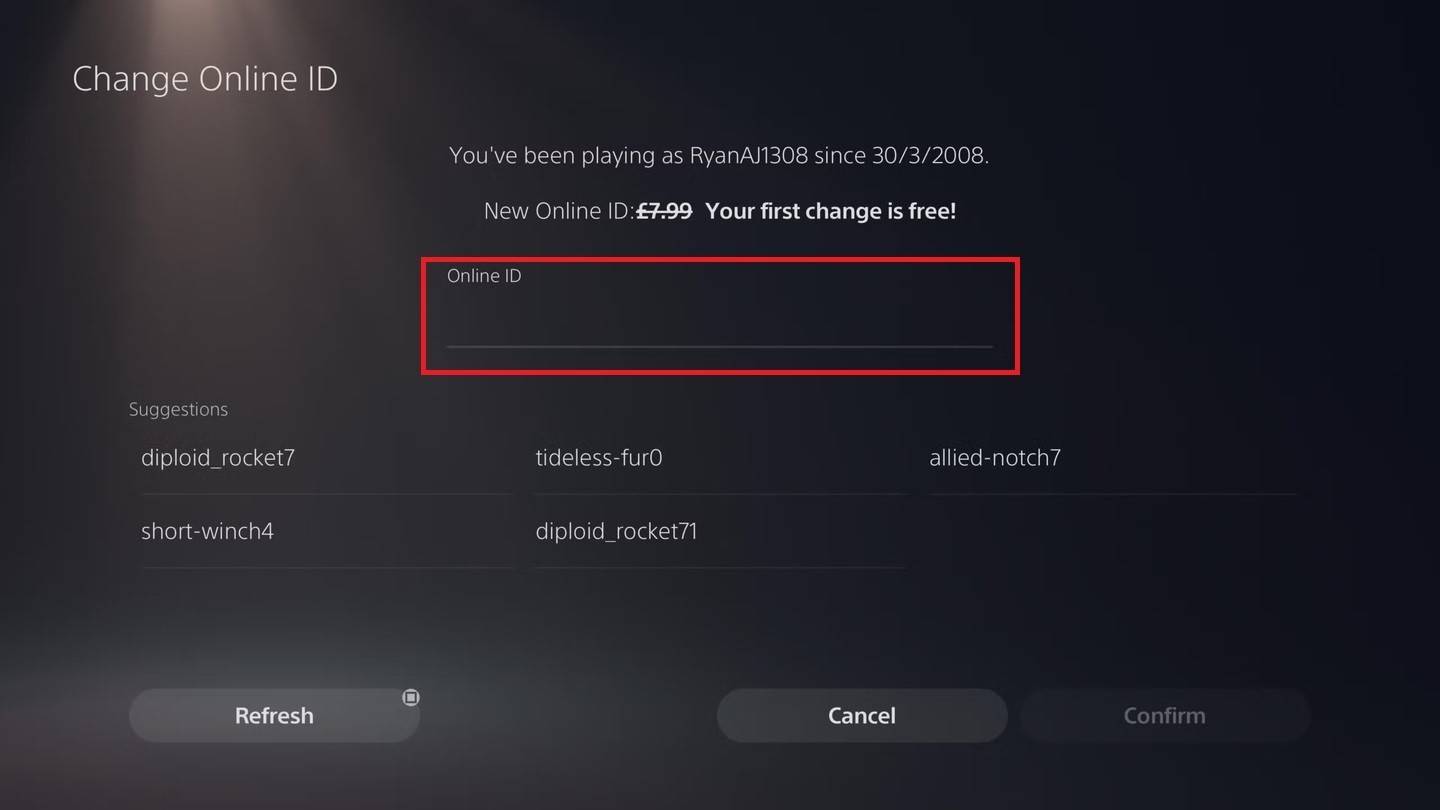
Note: This name only applies to other PlayStation players with cross-platform play disabled.
Final Thoughts:
Choose the method that aligns with your platform and cross-play settings. Remember the free name change limit and potential fees for subsequent changes. Enjoy your new Overwatch 2 identity!


![A Wife in Venice – New Version v2 [EROTIC DROP]](https://images.737c.com/uploads/87/1719599007667eff9f43e90.jpg)