Capture the Beauty of Kingdom Come: Deliverance 2 with Photo Mode
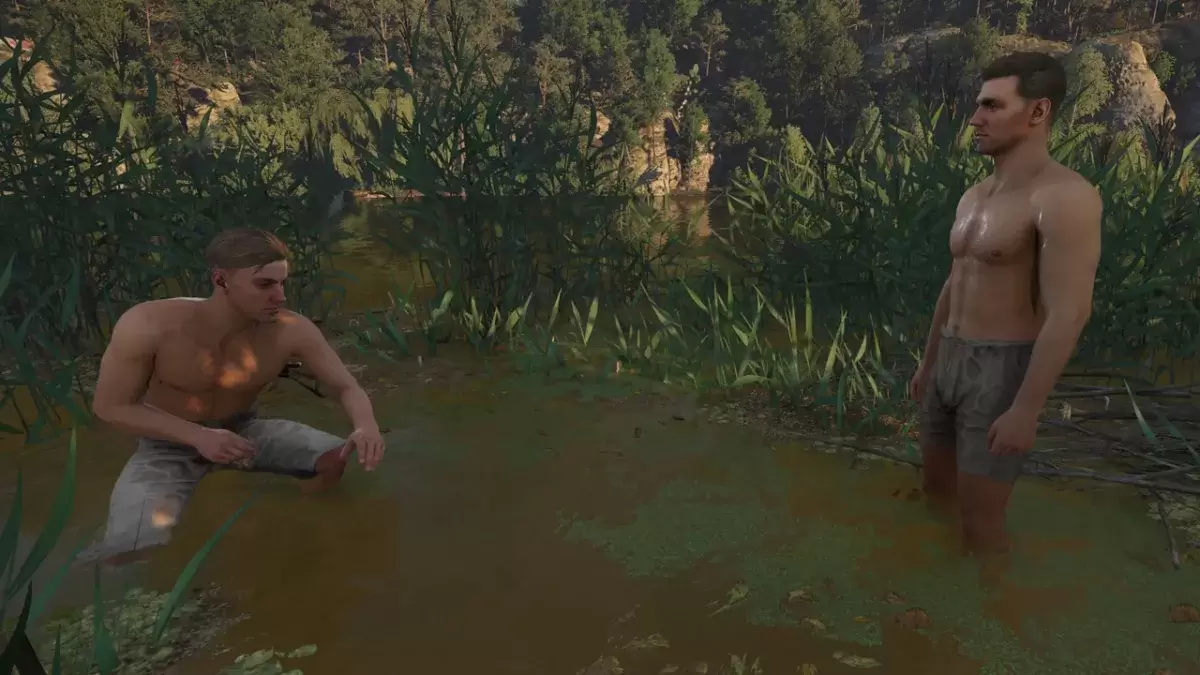
Kingdom Come: Deliverance 2 boasts stunning visuals, especially in fidelity mode. Want to immortalize that beauty? This guide explains how to use the game's built-in photo mode.
Activating Photo Mode in Kingdom Come: Deliverance 2
Unlike some games that lack photo mode at launch, or never receive one (looking at you, Elden Ring!), Kingdom Come: Deliverance 2 includes photo mode from day one. Here's how to access it:
- PC: Press F1 on your keyboard, or press both L3 and R3 on a joypad simultaneously.
- Xbox Series X|S / PlayStation 5: Press both L3 and R3 on your joypad simultaneously. (L3 and R3 refer to pressing both thumbsticks inward.)
Photo Mode Controls
Once in photo mode, time pauses, allowing you to freely adjust the camera. You can orbit around Henry, fly up and down for optimal angles, and zoom in and out for detailed shots.
Xbox Series X|S:
- Rotate camera: Left Stick
- Move camera horizontally: Right Stick
- Move camera up: Left Trigger/LT
- Move camera down: Right Trigger/RT
- Hide Interface: X
- Exit photo mode: B
- Take picture: Press the Xbox button, then Y.
PlayStation 5:
- Rotate camera: Left Stick
- Move camera horizontally: Right Stick
- Move camera up: Left Trigger/LT
- Move camera down: Right Trigger/RT
- Hide interface: Square
- Exit photo mode: Circle
- Take picture: Press the Share button and select "Take Screenshot" (or hold down Share).
PC (Keyboard and Mouse):
- Move camera: Use your mouse.
- Slow move: Caps Lock
- Hide interface: X
- Exit photo mode: Esc
- Take picture: E
Screenshots are saved to your Pictures folder on PC or your console's capture gallery.
Limitations of Kingdom Come: Deliverance 2's Photo Mode
Currently, Kingdom Come: Deliverance 2's photo mode is relatively basic. While you can freely position the camera, features like character posing, color grading, time-of-day adjustments, or character placement are absent. Hopefully, Warhorse Studios will add these enhancements in future updates.